How to Upscale a Photo to 2K or 4K Without Fake Detail
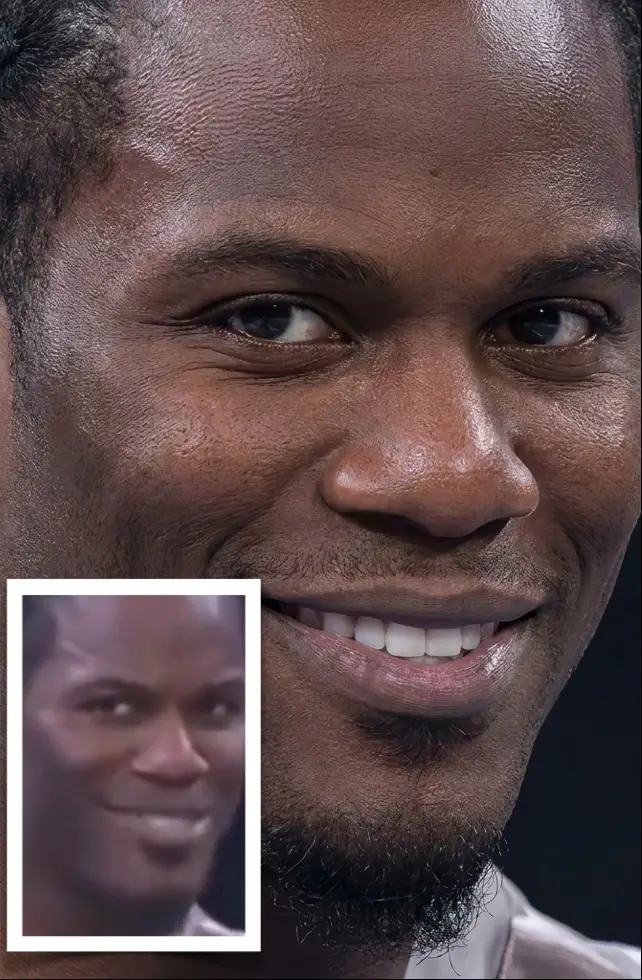
Here is the honest version first: upscaling adds pixels, not information. A screenshot that is 800 pixels wide will come back from a 4K run with cleaner edges and tidier shapes, not with detail the camera never recorded. Where it earns its keep is on files that are sharp but small: an old compact-camera JPEG, a tight crop that now has to fill a catalogue page, a screenshot you are about to project on a big screen.
Save a copy of the original before you touch anything. Upscaling fails quietly. At thumbnail size the result looks fine, and at 100% zoom you notice that hair has melted into clumps and eyelashes have merged into one thick line. By then you may have overwritten the only good version you had, so keep the untouched file next to the enlarged one for a few days at least.
What it actually does, and when a run is worth it
The tool reads the pixels you have and rebuilds the ones you do not. Hard edges come out cleaner, JPEG mush gets smoother, and small textures get plausible detail generated to match what surrounds them. That works well when the source has real texture to learn from, and it falls apart when there is nothing there to copy.
Worth a run: a sharp 1600-pixel photo that has to be 3200 pixels for a listing, a scanned document someone needs to read on paper, a crop that has to be re-cropped tighter without losing the last of its resolution. Not worth a run: anything soft from edge to edge, anything shot through a dirty lens, and photos whose only real problem is exposure or colour, since no amount of extra pixels fixes a bad histogram.
A ten-second test before you upload: open the file at 100% and look at the smallest detail you care about. If those edges are still crisp, the enlargement will probably hold up. If they are already smeared into each other, you are about to order a bigger smear.
Step by step, from file to final size
Work from the largest, least-compressed file you have. The same photo usually exists in three places at once: the original in the camera roll, the version that went through a chat app, and the version someone saved back from a social feed. Those copies are re-compressed hard, and once the blocky artefacts are baked in, no upscaler can tell them apart from real texture.
- Keep the original file unchanged for comparison.
- Open the template and upload one clear source photo.
- Select 4K in Resolution manually; the initial choice is 1K, not a 2× or 4× multiplier.
- Click Generate and wait for the result.
- Compare the whole image and fine details with the original, then download the version you want.
- If the result is wrong, return to the original, revise the prompt and generate again.
Five levers that decide whether it looks natural
Resolution is a ceiling, not a result. A soft photo enlarged to 4K is still a soft photo, only larger, and sharpening it just makes the softness more obvious. These are the things that genuinely change the outcome, in the order they usually matter.
- Select 4K in Resolution manually; the initial choice is 1K, not a 2× or 4× multiplier.
- Deal with noise before size. Screenshots and heavily compressed JPEGs carry visible blocks along high-contrast edges, and those blocks grow with everything else. If a cleaner export of the same image exists, use that one.
- Replace small text instead of enlarging it. Thin strokes and sharp contrast are what reconstruction handles worst: letter counters close up and glyphs start to look drawn by hand. If the text matters, set it again after the enlargement.
- Expect nothing back from motion blur. If the whole frame is dragged in one direction, the enlargement returns a cleaner version of the same drag, and sharpening makes the smear read even more clearly.
- Keep some skin texture. Completely smooth skin is what makes an enlarged portrait look manufactured. A little visible pore detail beats a flawless surface at 100% zoom.
Where it goes wrong, and how to recover
AI can change faces, lettering and background details; hidden detail is not guaranteed to be recovered. Compare the whole image and fine details with the original, then download the version you want. If the result is wrong, return to the original, revise the prompt and generate again.
The second failure is anywhere the image holds no data. A shirt blown out in the sun, a black jacket with no shadow detail, a reflection on a window: there is almost nothing for the tool to work from, so it produces a tidy guess that reads fine at arm's length and turns to mush at 100%. The same applies to anything hidden rather than blurred, a face behind a hand, eyes under a hat brim. Reconstruction can only guess from the neighbourhood, and a plausible guess is not the same as a recovered fact.
Test at the final size before committing to a print run. An edge that looks harsh at 100% on a monitor can soften on matte paper, and a file that only ever gets viewed on screen has no reason to be enlarged as far as one headed for a press.
Upscale first, or retouch first?
For product shots, portraits and interiors, the usual order is clean up first and enlarge last. Removing an object, swapping a background or fixing a colour cast is easier on the small file: fewer pixels for the tool to misread, and the reconstruction pass afterwards blends the repaired areas into the surrounding texture so any soft seams stop showing. Files that come out of that order are the ones you want for shop listings with a long edge around 2000 pixels, event screens, packaging and print seen from a generous distance.
The exception is anything headed for print: enlarge the rawest usable version first, then retouch on the big file, so every repair sits at the final resolution instead of being resampled later. Do not push an enlarged file through another round of generative editing, though, since invented texture stacks on invented texture until the image stops holding together. The post linked below covers the product side of the same decision, including how big a file a shop listing actually needs.
FAQ
- Can upscaling rescue a blurry photo?
- Only partly. Missed focus and camera shake mean the information was never recorded, so the tool can only give the blur cleaner edges; it will not reveal detail that is not in the file. Photos that are already sharp but too small are the ones that improve the most.
- Should I enlarge to 2K or go straight to 4K?
- Select 4K in Resolution manually; the initial choice is 1K, not a 2× or 4× multiplier. Compare the whole image and fine details with the original, then download the version you want.
- Does upscaling recover lost detail?
- No. It rebuilds detail that fits the pixels already there, so skin, hair and fabric come back convincing but made up. Worth remembering before you enlarge a photo you are going to use as a record of something real.
- Can I enlarge a phone screenshot?
- AI can change faces, lettering and background details; hidden detail is not guaranteed to be recovered. Compare the whole image and fine details with the original, then download the version you want.